How to Save Tomato Seeds from Fresh Tomatoes?
•Posted on September 22 2023
The knowledge of growing our food or making our own homes has quickly slipped through the cracks of the industrialization age.
More and more essential skills are lost in just two generations, leaving most people at the mercy of convenience stores.
If you're willing to take back control and start growing your food, a tomato plant is a perfect place to start.
Recommended for You:

1. Importance of Saving Tomato Seeds
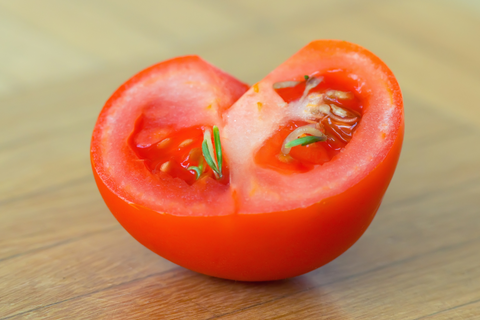
Saving your tomato seeds after cutting open a tomato is the easiest way to get seeds for planting.
It saves time and money you would otherwise spend driving to the store and buying seeds.
Additionally, you will never have to stress about seed shortages because you will almost always have your own supply.
A bonus for saving your tomato seeds is you may start a line of heirloom crops you can pass down to future generations.
Related Post: Easy Tips to Fertilize Your Tomatoes
2. Benefits of Preserving Unique Tomato Varieties
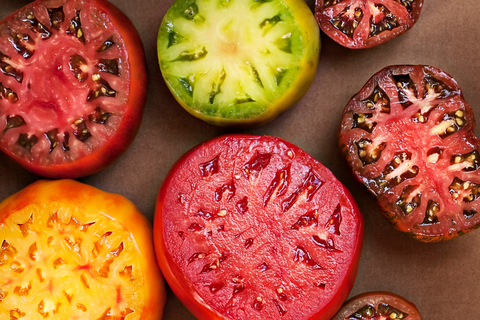
Saving your tomato seeds allows you to maintain your unique variety for generations, constantly duplicating a similar delicious tomato every harvest season.
Saving tomato seeds is a gift that keeps on giving for generations to come.
3. Selecting Ripe, Healthy Tomatoes
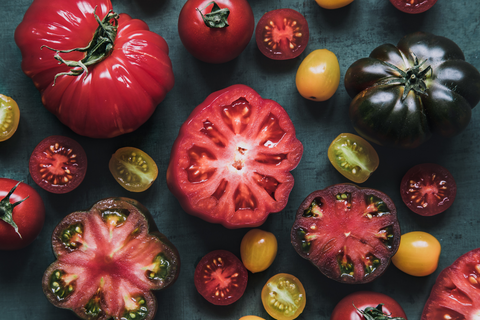
The first step to harvesting your tomato seeds is selecting the best tomatoes to get the seeds from.
There are many different tomato varieties, so choose the variety you would like to plant.
Make sure the tomato is blemish-free and healthy.
Recommended for You:
4. Seed Extraction and Fermentation
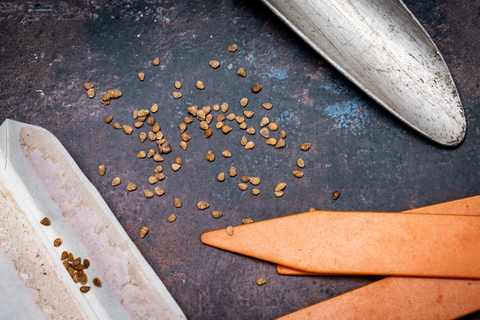
- Extracting seeds along with gel
The next step is to cut up the tomato and extract the seeds.
Did you know that each tomato can have up to a hundred seeds?
Make sure to wash up your tomato before cutting into it.
Once cut, use a spoon to scoop the seeds from the cavity.
You will notice that the seeds are coated with a gel and pulp.
- Placing seeds in a container for fermentation
Next, place the seeds and pulp in a container for fermentation.
Check to ensure your jar is completely covered. Stir the mixture once a day.
Related Post: A Step By Step Guide to Growing Hydroponic Tomatoes
5. Cleaning and Drying
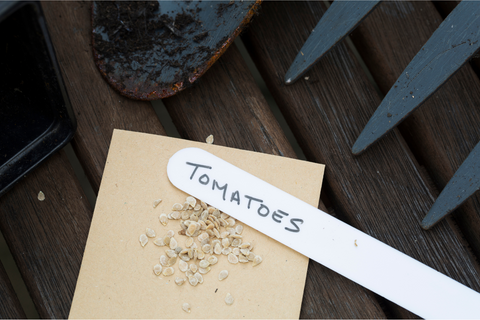
- Separating seeds from gel
After three days, fill the jar with water and let the seeds settle at the bottom.
If you ever wondered how to separate tomato seeds, it's that simple.
Now, pour out the water along with the tomato pulp.
Any seeds that float are not viable.
- Rinsing and straining seeds
Repeat the process until the water draining out is clear.
- Proper drying process
Finally, pour the seeds onto a filter, letting excess water drain.
Place the seeds on a paper plate or newspaper to dry in a well-ventilated area for several days.
Recommended for You:

6. Suitable Storage Containers and Labeling
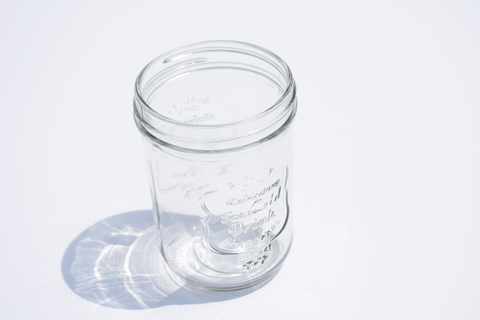
The next step is storing your seeds in a container or bag in a dark, cool, dry place.
Label your containers.
Glass jars or plastic wraps are ideal because they will not let water or moisture get to your precious seeds.
Keep the seeds away from direct sunlight.
In addition, ensure your seeds are always dry because any water contact can lead to the seeds' germination or even a mould contaminating the batch.
Related Post: What is the Best Fertilizer for Tomatoes?
7. What Are the Best Tips to Save Tomato Seeds?
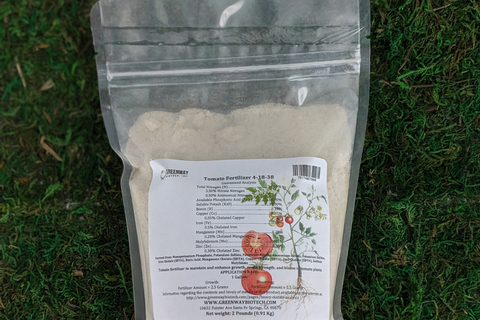
When you finally get around to planting your tomatoes, use the best fertilizer to give them the best start in life.
Our tomato fertilizer is the best in the market for any tomato variety you choose.
Our tomato fertilizer helps prevent blossom end rot and ensure a successful tomato crop so even if you're a beginner, you will grow a healthy tomato plant that grows so many tomatoes you won't know what to do with them all.
Comments
0 Comments
Leave a Comment